
Project Overview
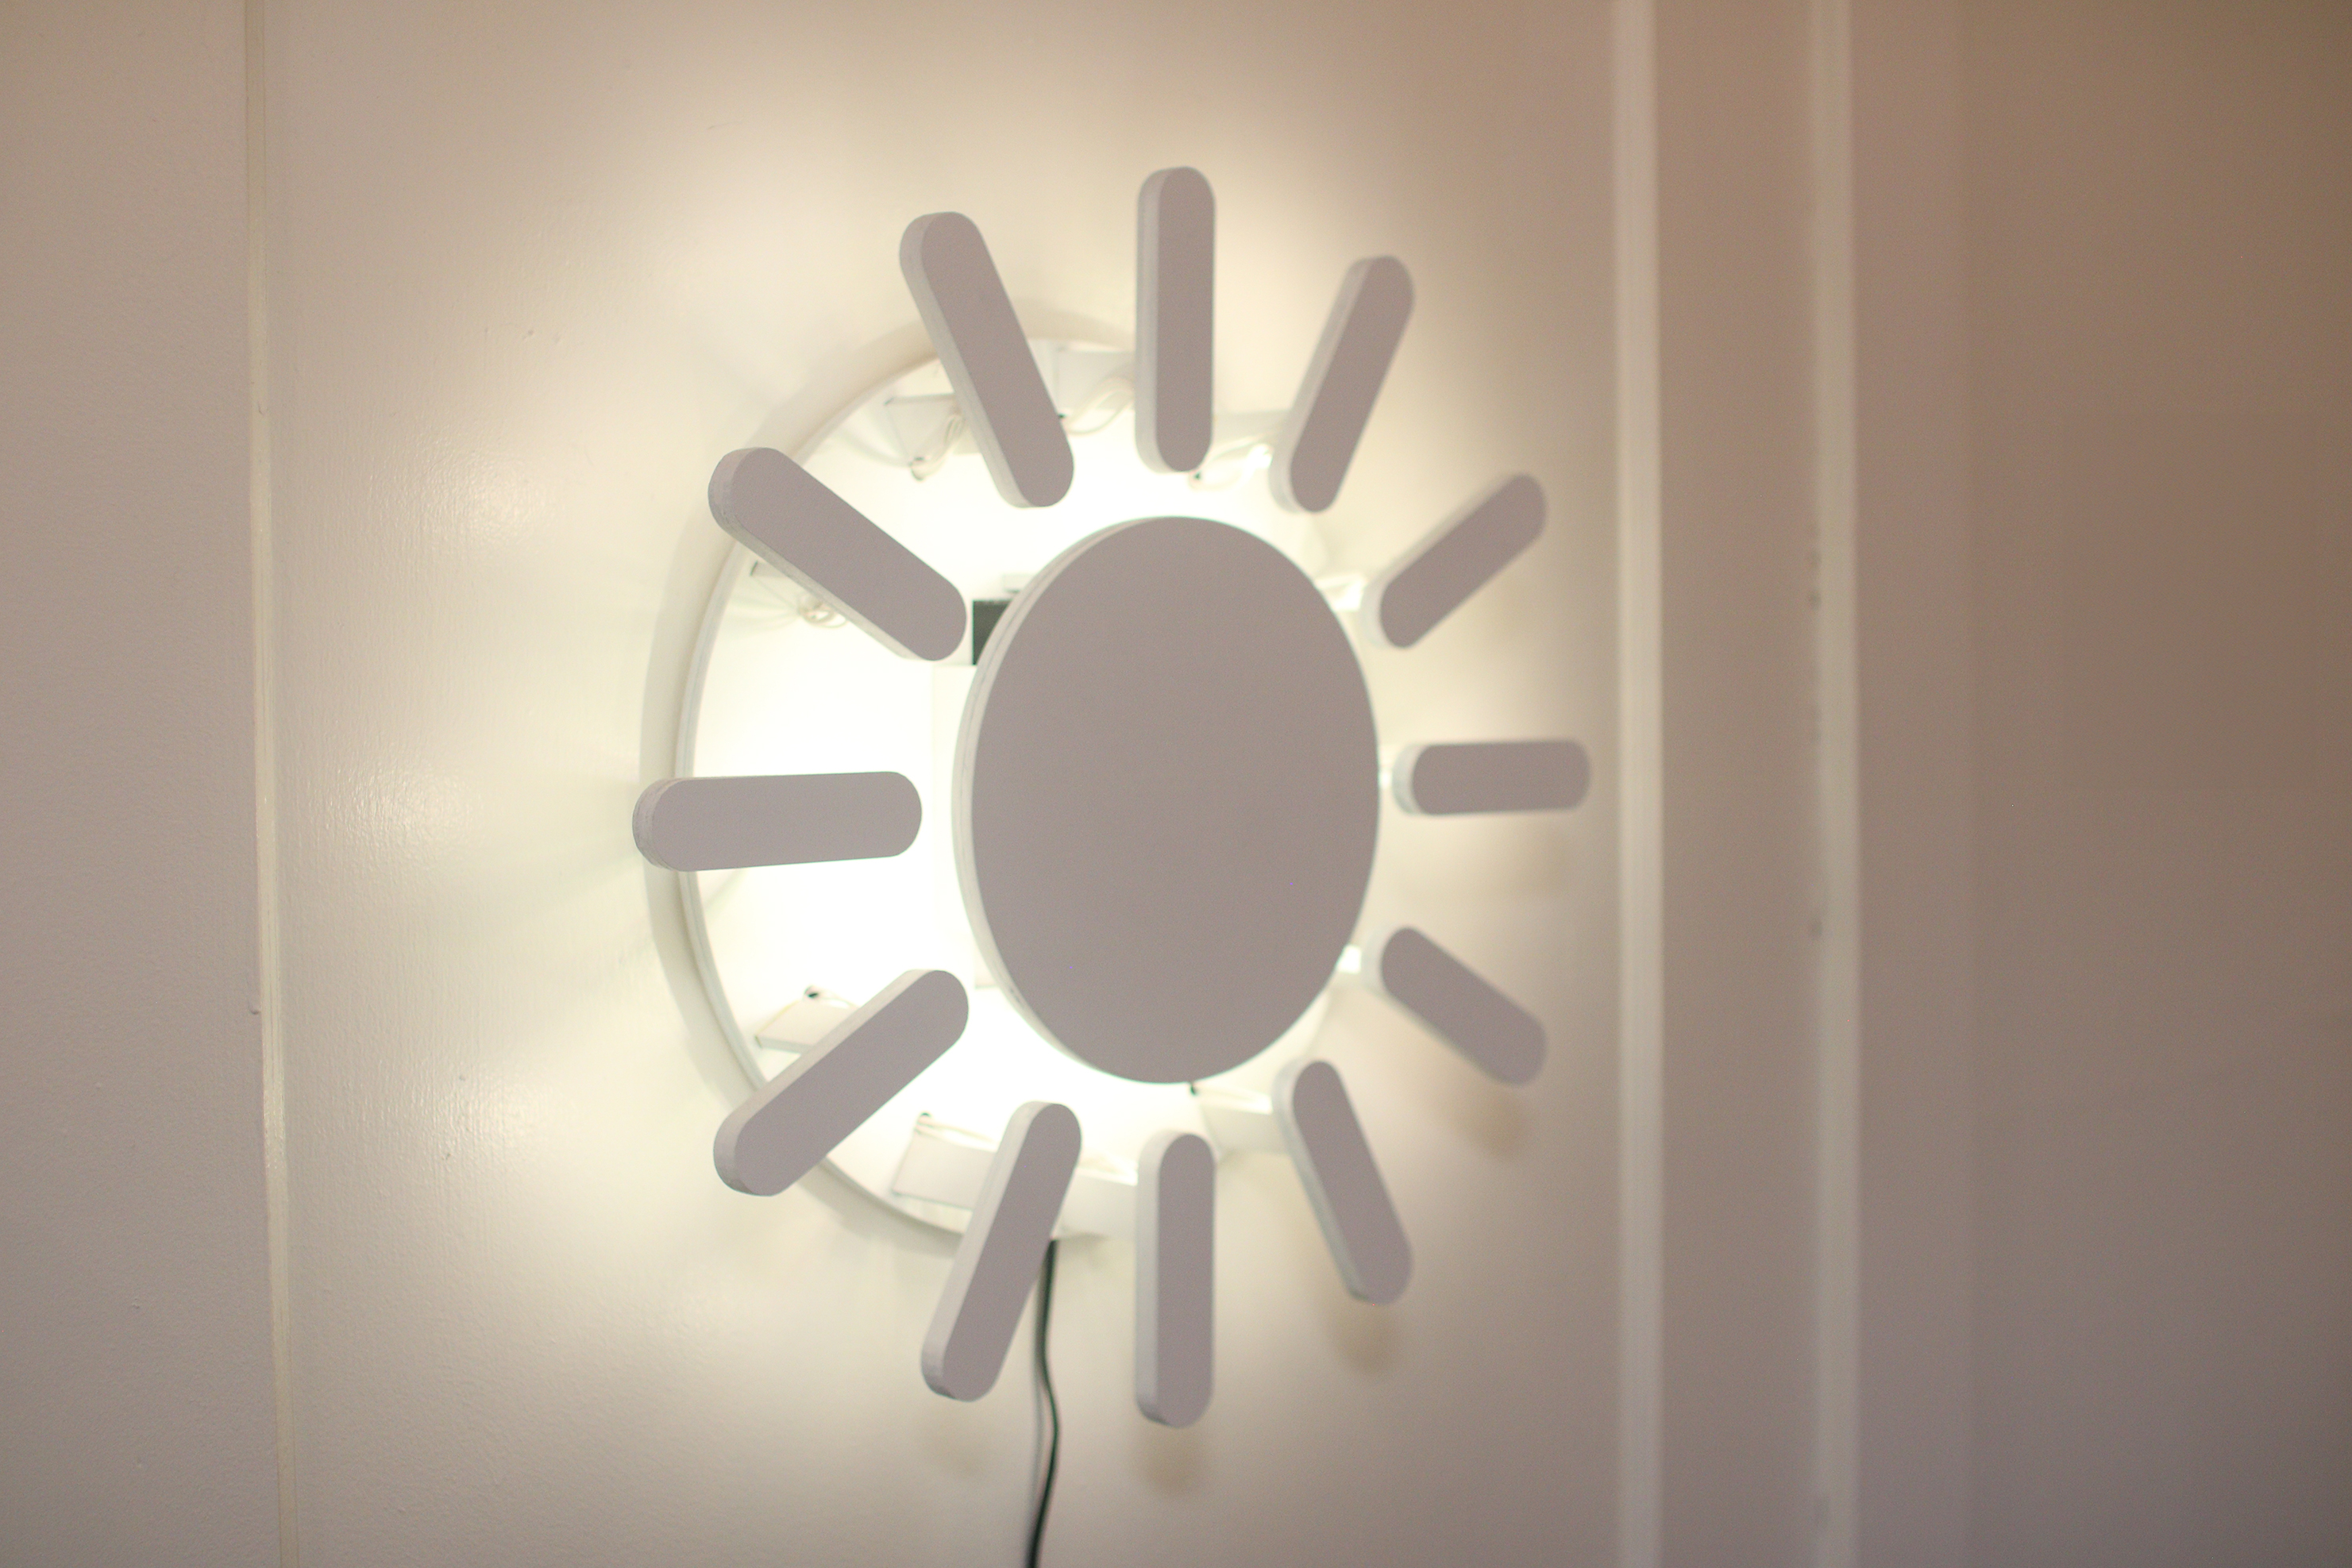
The Sun Clock is wall decor that changes appearance to display the rising and setting of the sun each day. WiFi connectivity allows for the retrieval of up-to-date sunrise and sunset data to create accurate visual representions of the transitions between day and night, no matter the time zone, latitude or longitude.
In addition to this core feature, The Sun Clock can display the time of day through an analog-clock-esque display. Alternatively, users can opt to use the device solely for decorative purposes through one of the multiple accent light settings.
A demo video for the project is in the works, so check back soon to see!
Project Breakdown
At a glance...
This project served as the final project for Object, an undergraduate physical computing class at the University of Colorado, Boulder. The class focused on programming microcontrollers, fabricating enclosures and creating interactive systems to solve problems.
The trajectory of this specific project strayed from the initial goal of emphasizing user interaction in favor of a more practical outcome; I wanted something that I would be happy to hang up in my apartment long after the novelty wore off.
The Construction
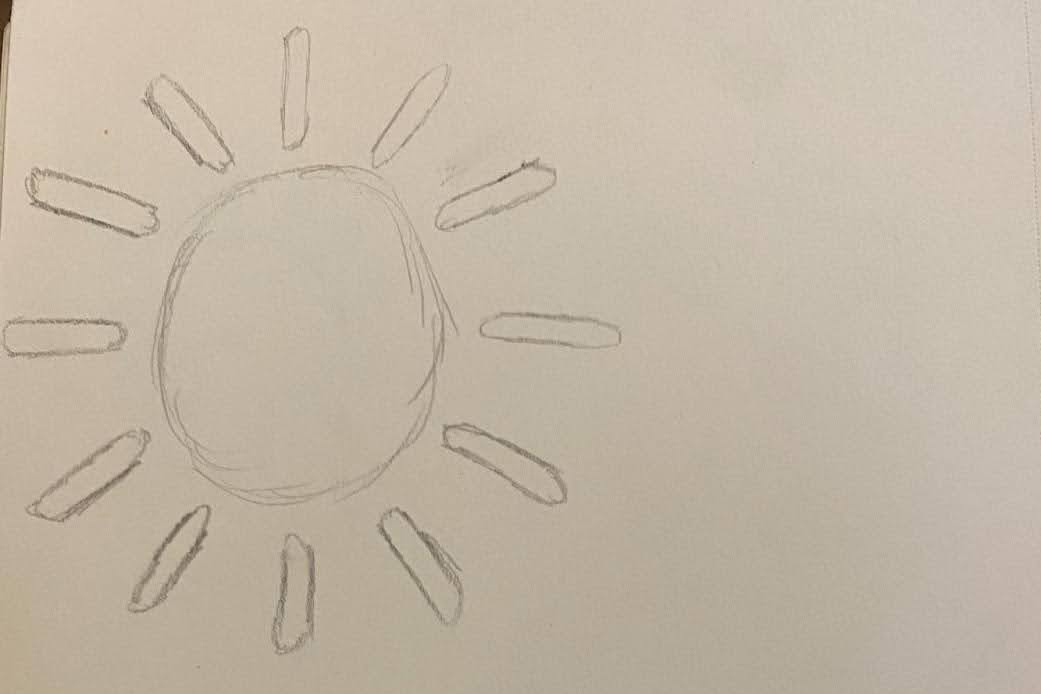
At the time of writing this, all that is left of the initial sketching phase is the poor-quality pencil drawing seen here. There were a few other designs that were considered, but the the simplicity and smoothness of the shapes felt the most pleasant. The vision for The Sun Clock was to have a flat, sun-shaped silhouette that was backlit by wall-facing LEDs. The desired flat design influenced the choice of materials, plywood. The plywood influenced the choice of manufacturing techniques, laser-cutting.
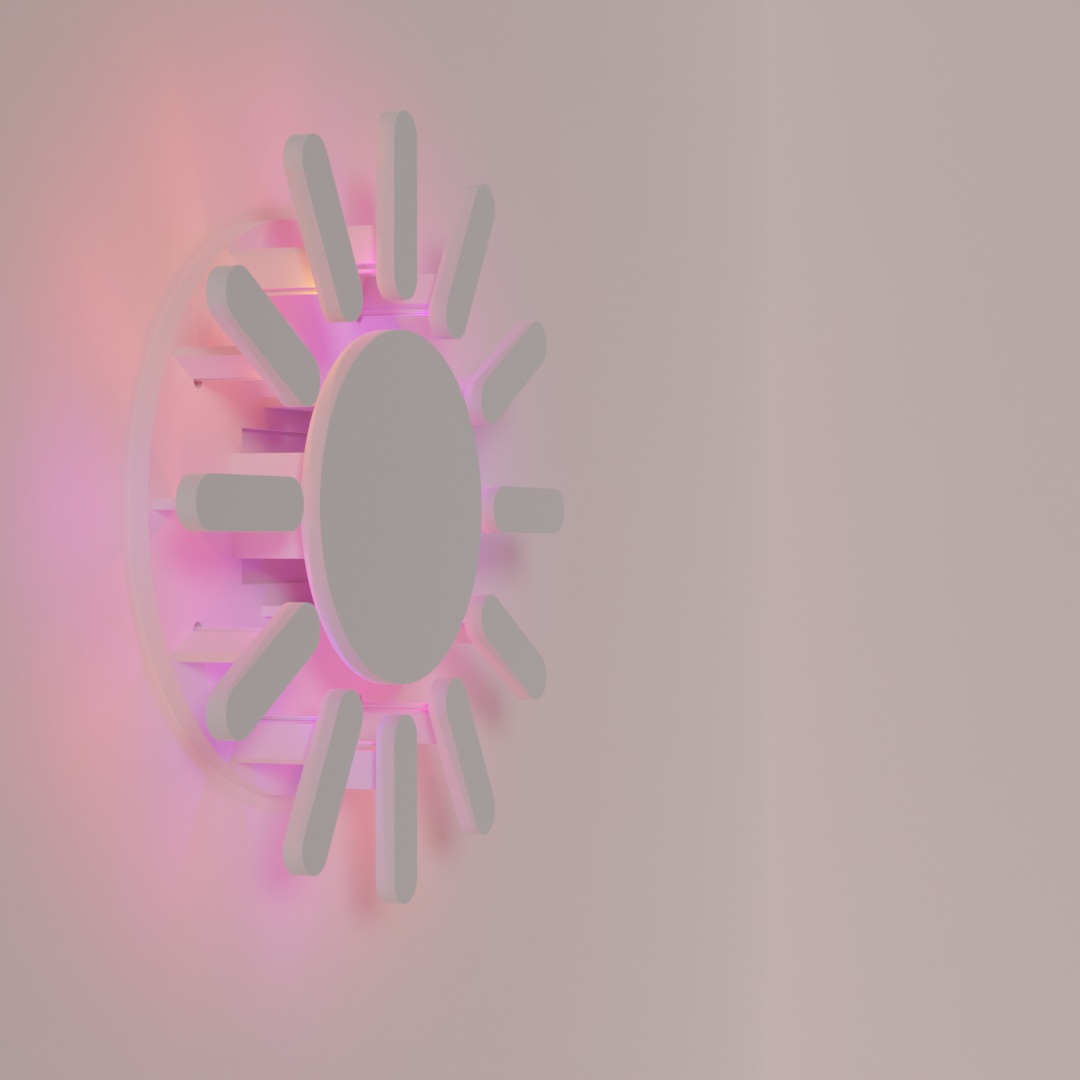
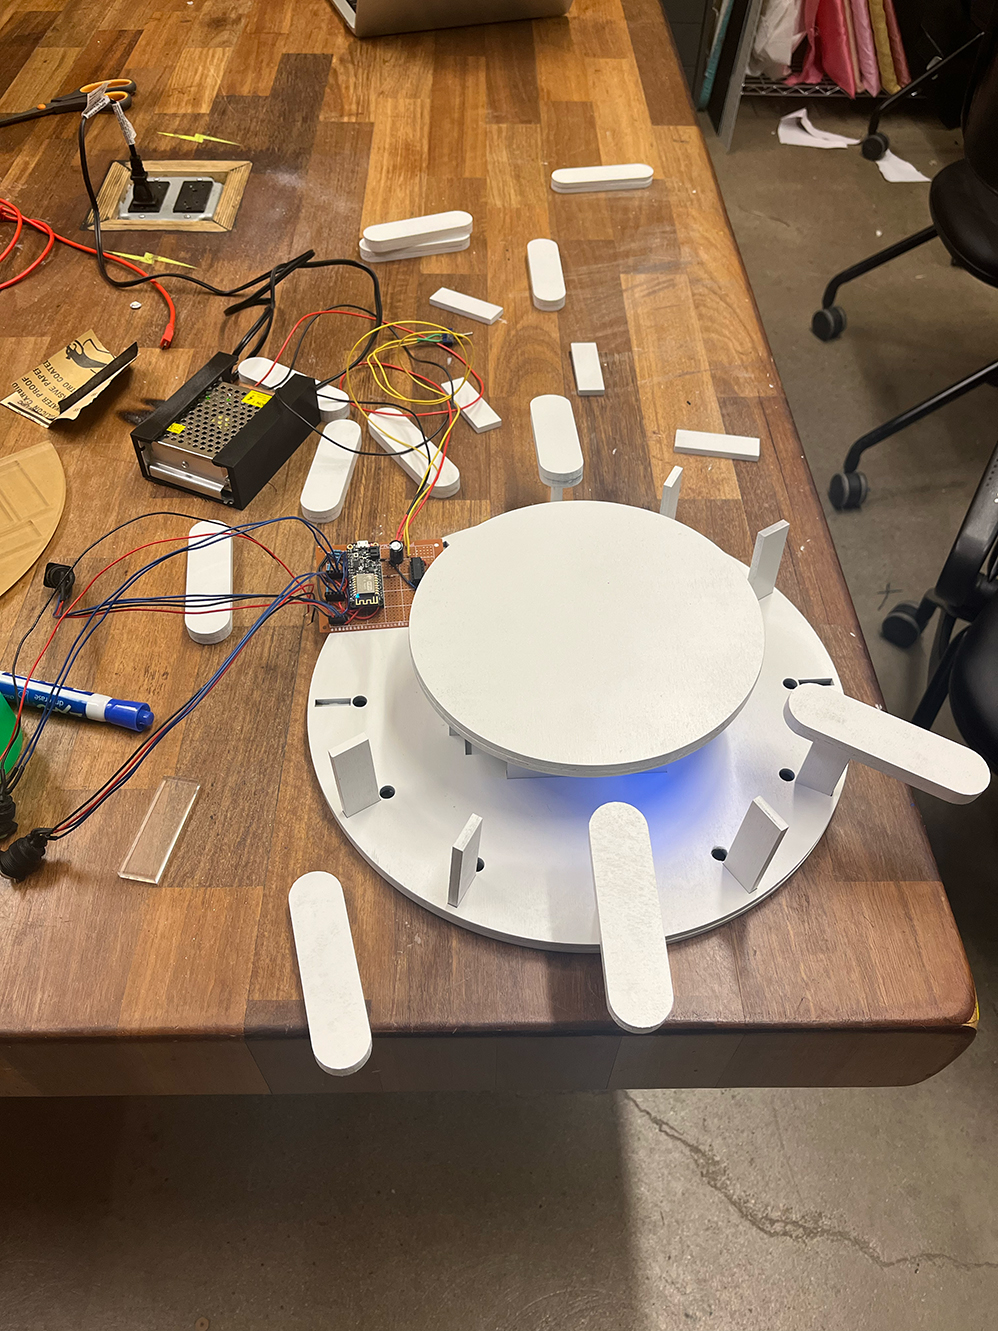
With all this in mind (and a vision for the required circuitry, explained below,) modelling began. Most of the pieces are made of two layers of plywood in order to easily create channels for running wiring and placing LEDs. The space behind the central circle of the "sun" was used to contain the bulk of the hardware, including the power supply and microcontroller circuit.
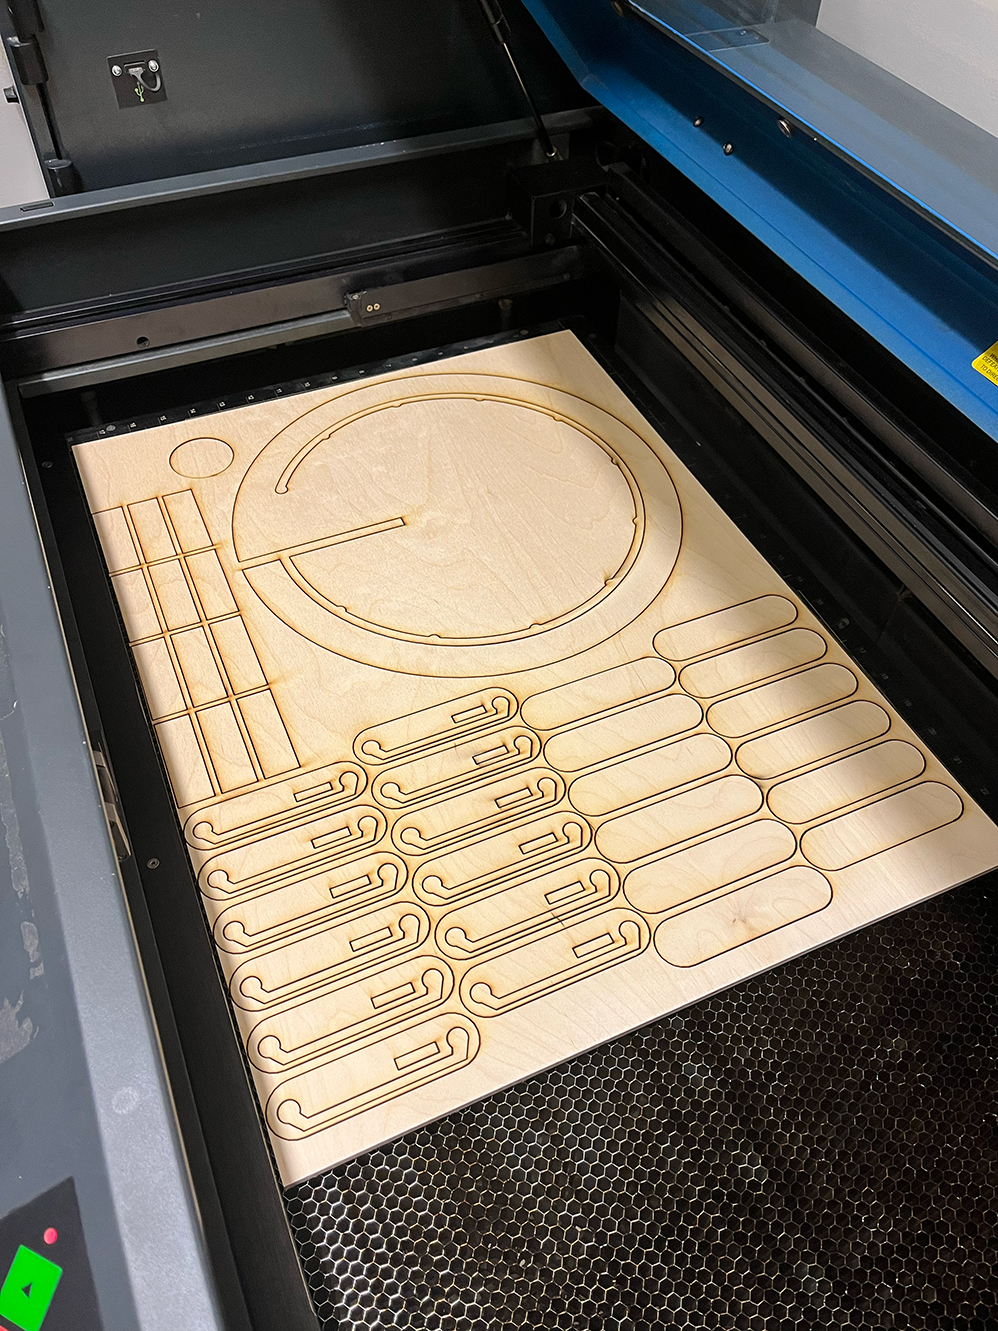
After iterating over the design, the parts were sent to the laser-cutter to begin the the fabrication process. From there, all that was needed was some sanding, some painting and some gluing together to finish constructing the piece.
The Circuitry
At it's core, the electronics for this project did not need to be very complicated. A WiFi-enabled microcontroller (in this case, Adafruit's Feather HUZZAH with ESP8266) was needed to control some addressable LEDs. This particular setup added a few complications...: The number of LEDs in use, as well as the brightness at which I wanted to use them, required more power than the HUZZAH was able to provide. Additionally, the HUZZAH operates at a different voltage than the addressable LEDs prefer. These two considerations needed to be addressed.
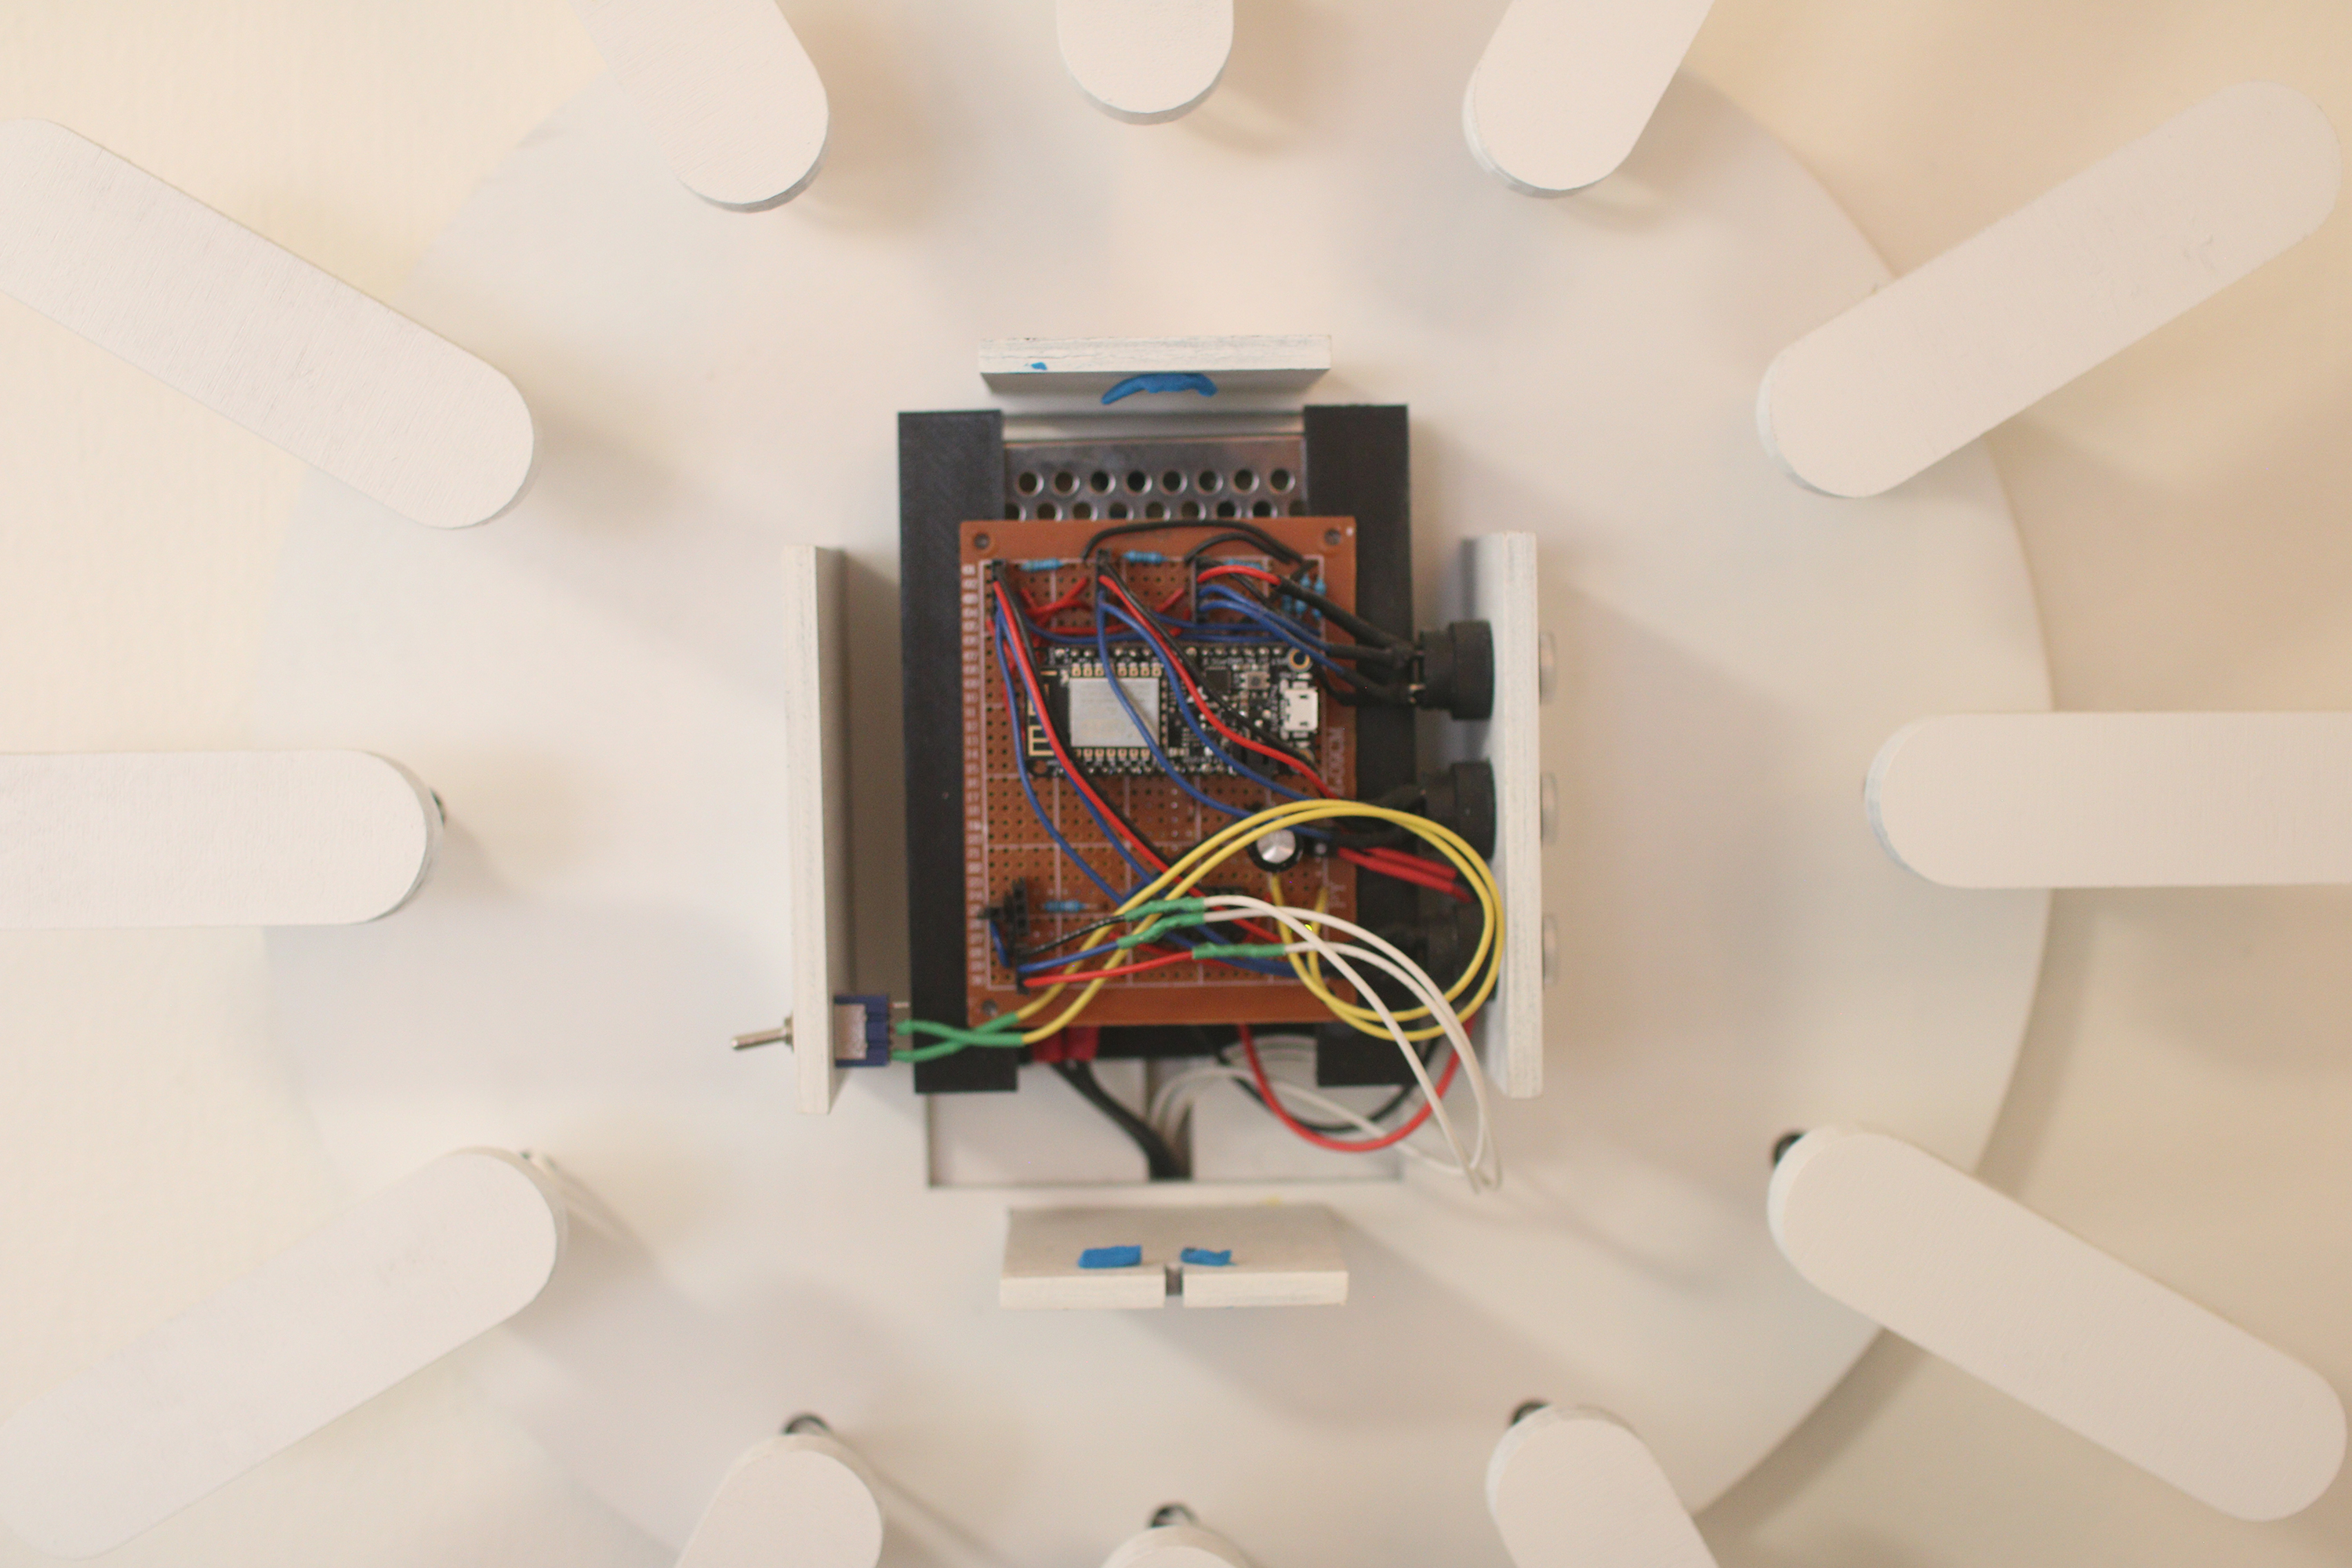
The above picture shows the final state of the circuitry, and I will soon update this page with a schematic of the circuit for ease of viewing. In summary, The Sun Clock is powered externally from a 5V DC power supply. The lower-voltage logic signals from the Feather HUZZAH are converted to 5V using a Logic Level Shifter. Finally, the buttons and switches on the outside of the enclosure are wired to the microcontroller, and the addressable LEDs are connected in a long chain.

All of the soldering was done by hand on a protoboard; A custom PCB design would certainly allow for a more compact and organized layout, but a protoboard was sufficient for the first iteration of the product. The main inconvenience of the project was soldering the long chain of LEDs together. Each required six connections, and most needed to be soldered in their final positions, which substantially limited maneuverability. Not all of the cable management was done perfectly, and a priority for a second iteration of the process would be to improve and simplify these connections.
The Software

After ensuring that the single diode I employed to protect my computer from destruction was facing the correct direction, it was time to get working on programming the behavior of the LEDs.
This process was enjoyable and allowed for a lot of creative expression. After successfully retrieving sunrise and sunset times from a weather API, I was left to be an animator! Mapping the chain of LEDs to its position in space made room for trigonometry to shine, and Perlin noise did a lot of heavy lifting as well.